
How to Prepare Files for Laser Cutting?

Keywords: laser cutting file preparation / laser cutting tips
Introduction
Preparing your design file correctly is the first and most important step to achieving clean and accurate laser cutting results. Following these guidelines will help us quote your project faster, avoid errors, and produce the outcome you expect.
Acceptable File Formats
We use Rhino, Illustrator, and AutoCAD for our laser cutting workflow. Choose the template that matches your software, and read the included instructions carefully before setting up your file. If you are using Coredraw, inkscape or other software, please export your design as AI or DXF (mm units, outlines only) before submitting. Make sure all text is converted to outlines and the scale is correct.
Illustrator Template_Laser Cut
Sheet Layout for Laser Cutting
In our cutting templates, you will find three outlines: the yellow line represents the machine bed size (our machine bed is 1200×900mm, but it has been set to 900×600mm in the template for convenience), the green line represents the size of the material you are using, and the red line represents the area of your design to be cut. Because material edges can be worn during transport, and to help position your design more accurately, we recommend leaving at least 5mm of space between your design and the material edge. In the mean time, you should also consider about the following factor:
Confirm your material size before starting your layout. Use our in-stock sheets or bring your own — just make sure the size you draw in your file matches the actual material. see our material list
Draw at full scale inside the sheet templates we provide, to save layout time and reduce waste.
Allow at least 2 mm gap between each object to avoid burning or merging cuts.
Separate sheets/materials: use and label separate rectangles for each material type, drawings or thickness.
For multiple copies, send one drawing and label the required quantity in relvent field of your drawings.

Laser cutting file layout example: In this diagram, the yellow line represents the machine bed area, the green line represents the material size, and the red line represents your design.
Linework and Colour Settings
Setting the line thickness is very simple — you just need to convert your design into a flattened 2D shape or a directly cuttable outline, and then use different colors to achieve different cutting effects.
If you are using Adobe Illustrator, always use the thinnest line weight available (hairline, 0.001 mm).
Cut lines: red (full cut through material)
Score lines: blue (light surface marks)
Block fill engraving: black fill
Text: black outline if scored, black fill if engraved
Keep cut, score, and fill on separate layers for clarity
Always convert fonts to outlines/curves to avoid missing font issues.

Vector line color settings for laser cutting: The different cutting results produced by using different color settings.
Raster (Bitmap) Engraving
Whether it’s a photo or a closed vector shape, we can create it using raster engraving — but there are also some important things to keep in mind when using this method.
To engrave filled areas, use black fill on closed shapes.
If you want to cut a shape out of a raster-engraved area, remember to add a red cutting layer on top of it.
If not engraving a picture, make sure all filled shapes are continuous polylines.
Remember: raster engraving is more expensive than cutting because it is quite time consuming to finish the job.In some cases, you can also consider using textured hatches instead of full engraving to achieve a similar effect while keeping the laser cutting cost lower.
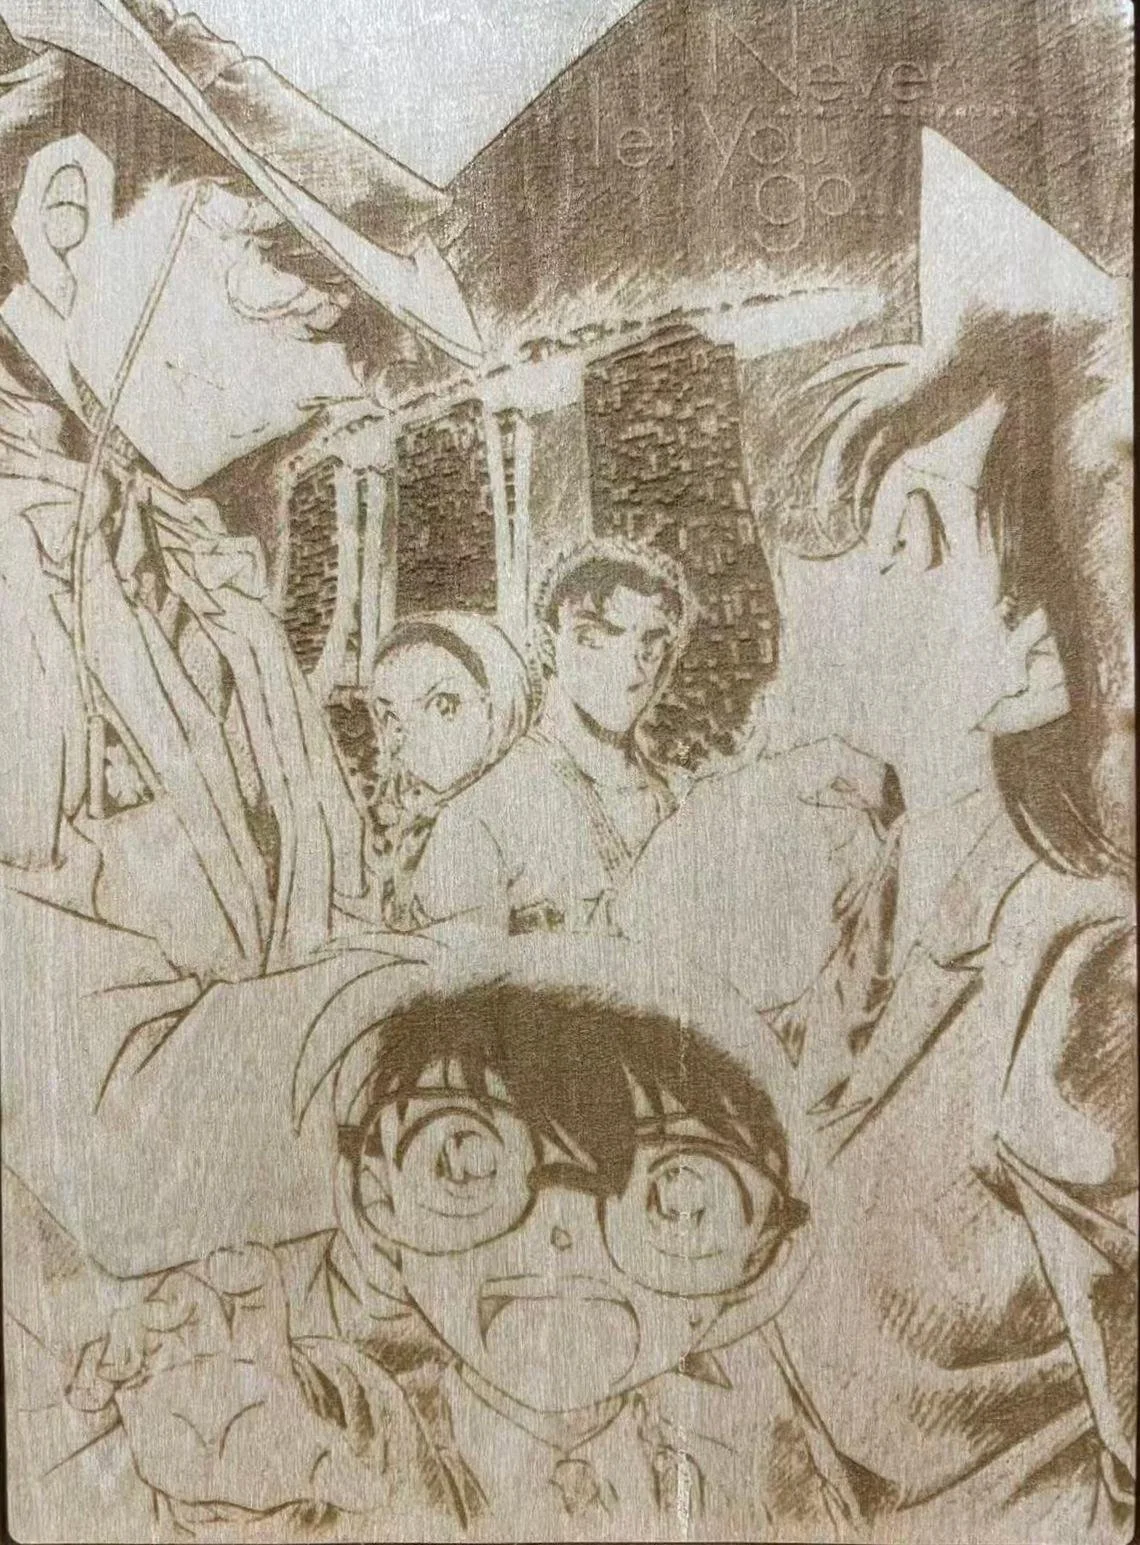
An example of creating wooden artworks using engraving
Drawing Tips for Better Results
Keep your drawing clean and simple — fewer curves cut faster
Engraved lines are faster and cheaper than filled text
Avoid duplicate lines (they add time and may burn the material)
Include at least one spare piece of material if supplying your own
Allow for material thickness variation if parts must fit tightly
Account for kerf (material lost in the cut) especially in thick acrylic
Expect a slight cut taper (top edge slightly wider than bottom)
Conclusion
By now, you should have a basic understanding of how to correctly prepare your design files. Each of our software-specific templates also includes more detailed instructions tailored to that program, and we strongly recommend reading them carefully before submitting your files.
A well-prepared file saves time, reduces costs, and ensures the best possible cutting results. By following these steps, you’ll get faster turnaround and a more accurate outcome from our laser cutting service.
FAQ:
Can you help prepare or fix my design files?
At the moment, we don’t provide a full file setup or conversion service. However, we are happy to guide you with detailed instructions on how to correctly prepare your files using Rhino, Illustrator, or AutoCAD.
Do I need to pay a setup fee?
Our standard setup fee is $10 for most jobs. This covers basic file checking and machine preparation.
A higher setup fee may apply if:
Your job requires more than 5 sheets, or
Your file is based on another company’s template and needs conversion.
Please refer to our FAQs for more question.
Ready to find out your exact cost? [Get a Free Quote →]